Merry Christmas all! I'm so excited about my card display this year. I can hardly wait for the cards to show up in my mailbox. For the past few years I've been taping them to a wall in my kitchen. Now that I have a new space I wanted something cute to hang them on. I picked this old door up for $25 at Landry's Antiques last week. It's the perfect size for my small kitchen, only 2 feet wide. A little twine and a banner complete the look. I think I'll take a little time next week to paint the clothespins gold. Oh, and order my own Christmas cards!
Friday, November 28, 2014
Tuesday, October 7, 2014
DIY Repurposed Wood Backpack Hooks
I have spent the last 7 years with a pile of backpacks in a corner of my mudroom floor. It was time to get organized. The older the kidlets get the more mess they bring home! The pile has now grown to include a saxaphone, gym shoes, Awana bags, and a Chromebook. Yikes!
I really had hoped to use re-purposed wood but the reality is that it is so dry and often cracked I was afraid that it would snap with the weight of three backpacks that probably weigh more than my kids.
So off to Pinterest I went searching for how to fake barnwood! I found an awesome tutorial here but it also looked expensive as I didn't have any of the materials in the house and time consuming (dislike).
So God bless my creative husband who took my dream and simplified it!
With leftover board from some shelves he recently made me (post coming soon) he distressed and stained a piece of new board.
He used all kinds of fun tools from the work room. It looks very drastic in this photo but once it goes up on the wall the marks look perfect!!
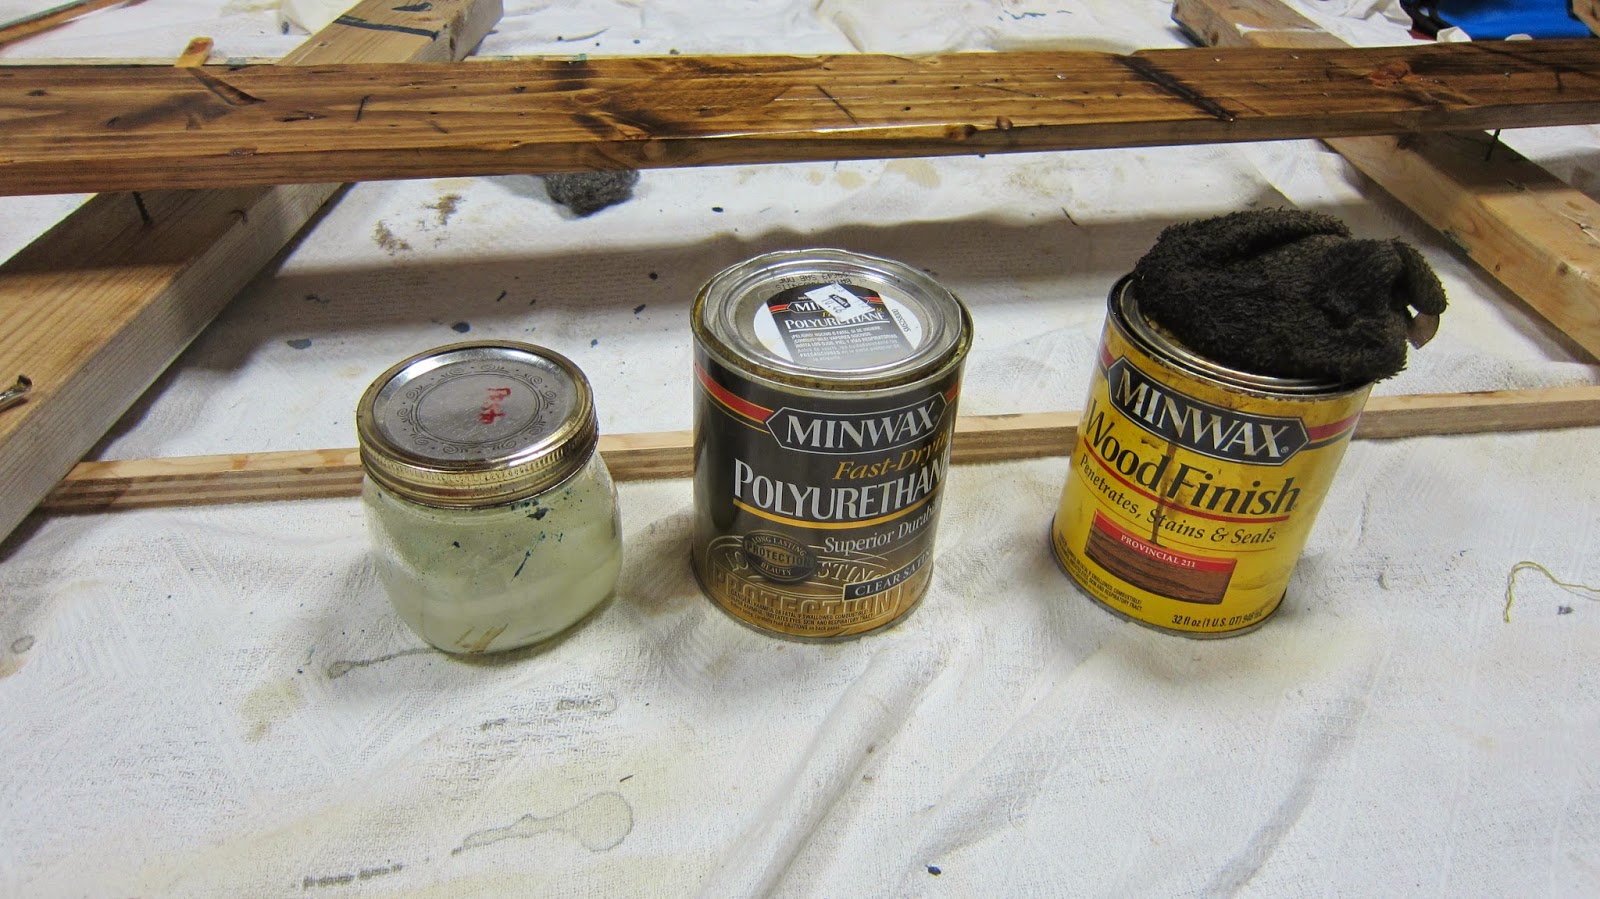
Once the wood was nicely distressed and abused he used rag to rub stain into the wood making sure the gouges and holes got nice and dark. We had some Provincial by Minwax left over from a different project that I think turned out perfect!
He then went over it twice with Minwax polyurethane, give it a quick sanding with steel wool and one more coat of polyurethane to make it super smooth and durable.
For fun I added three different antique bronze hooks I found at Hobby Lobby. I even bought them when they were half off so the entire project cost less than $10!
Be sure to use wood screws and securely attach the bar to the wall studs! Backpacks get ridiculously heavy!
Friday, August 8, 2014
I recently spent a weekend with my family at a cabin on the beautiful Boyne Mountain Resort in Northern Michigan. We spent one day at a local festival called Northern Michigan Flywheelers Festival.
A flea marketers paradise!
Old fashioned flour mill, basket making, and blacksmith shop.
Seriously, who doesn't love an antique tractor parade!
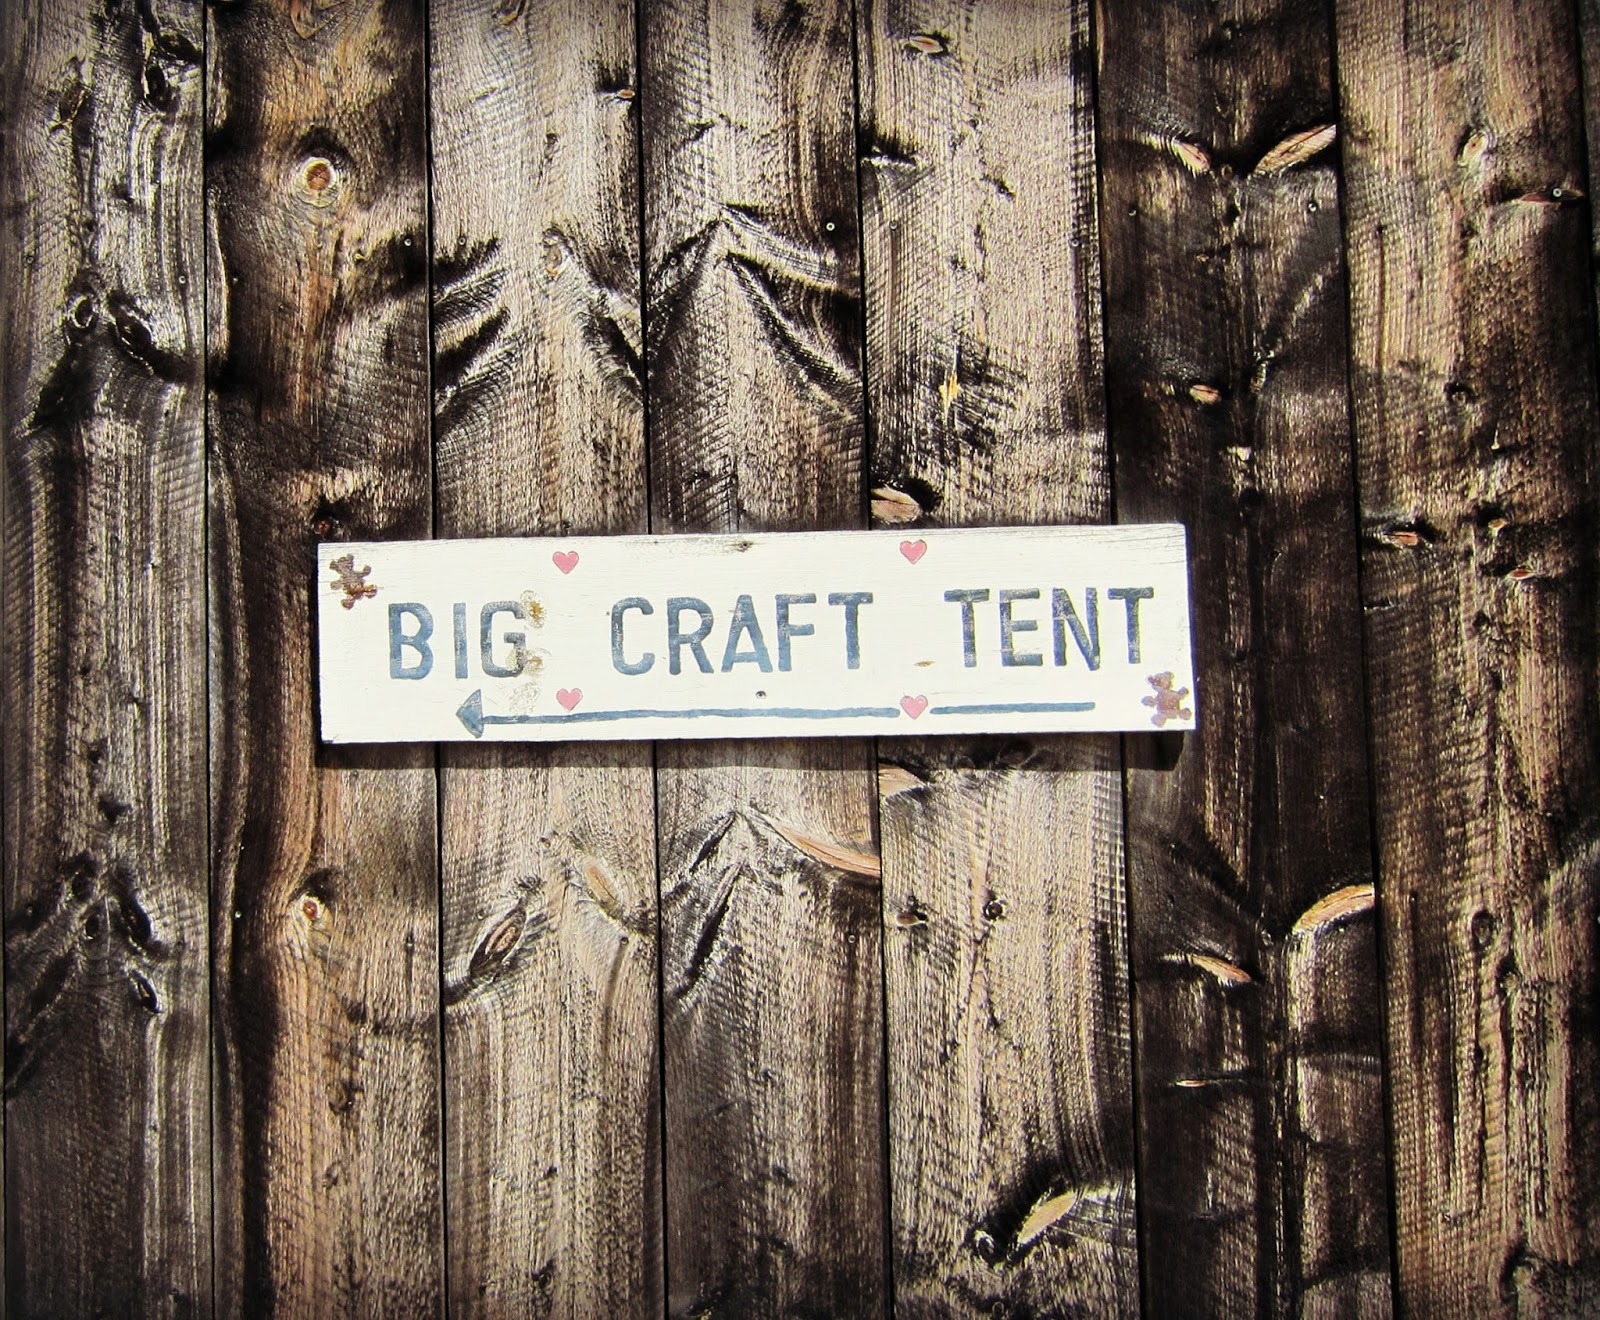
But the highlight for any crafter or someone who loves the unique and handmade this sign will make your heart beat just a little faster!
Oh yes! Handspun wool which was then naturally died with flowers and nuts a rainbow of gorgeous colors.
Then out the back of Big Craft Tent (which was actually an old barn) you come upon a pine forest with the most adorable little wooden booths for local crafters.
What I wouldn't give to set up shop in a location like this! The show itself did not seem terribly busy but you just can't beat the view while you waIt for customers.
PURE MICHIGAN!
Thursday, February 27, 2014
I am so honored to be featured in the Spring Edition of Haute Handbags along side some of my favorite bloggers and artists!
Please enjoy the following tutorial for the:
shabby chic numbered zipper clutch tutorial
Grab a bunch of your favorite fabric scraps that are at least 10 inches by 6 inches. Mix textures, colors and weights for fun variety. You will also need:
trim/lace scraps
fusible lightweight interfacing (I like Pellon)
a 10 inch zipper
a 10 inch zipper
Heat N Bond Light
buttons/brads/gems
Make the number:
Using Word, print out a number 1. I used Gloucester MT font sized at 300. Feel free to play with your fonts but I find the simple ones are the best as you will have to stitch around all those little curves!
Cut:
2 exterior pieces
2 lining pieces
4 interfacing pieces
Press the interfacing to the wrong side of the fabric
Now comes the fun part!!! Pull together several pieces of lace, trim, and even a brad/button/or gem and play with the layout until you love it! Don't be afraid of unfinished edges, messy lines, and imperfections. The joy of shabby chic is the personality and uniqueness that comes with the imperfections.
Once you've found a layout you like, stitch it all into place and trim off the extra lace edges. You can always add more if the mood strikes you.
Now for the zipper!
If this is still confusing check out the link here.
I love how clear Florence of Flossie Teacakes explains making a zipper pouch. This tutorial helped me sooo much!
Unzip the zipper about 3/4 of the way.
Pin so that the right sides of the exterior and the right sides or the lining are together. Make sure the fabric part of the zipper is folded together facing toward the exterior fabrics! It will look completely wonky if you don't do this!
Stitch all the way around leaving a 3-4 inch opening at the bottom of the lining fabrics. Reinforce where the you stitch over the zipper. Trim off the extra zipper ends close to the seam.
Square the corners
Pull all through the opening in the lining then either machine stitch or hand stitch the opening shut and push into the pouch.
DONE!
Subscribe to:
Posts (Atom)


